Tutorial: Generate an Occupancy Map for Navigation
This tutorial will enable you to create a 2D occupancy map of your environment. This map can the be used for autonomous navigation.
Instructions
SSH into the robot (instructions).
Make sure you have successfully connected the PS5 joystick to the robot (instructions).
Build/install the required packages:
Pull the Docker image:
docker pull nvcr.io/nvidia/isaac/nova_carter_bringup:release_3.2-aarch64
Run the Docker image:
docker run --privileged --network host \
    -v /dev/*:/dev/* \
    -v /tmp/argus_socket:/tmp/argus_socket \
    -v /etc/nova:/etc/nova \
    nvcr.io/nvidia/isaac/nova_carter_bringup:release_3.2-aarch64 \
    ros2 launch nova_carter_bringup lidar_mapping.launch.py
1. Make sure you followed the Prerequisites and you are inside the Isaac ROS Docker container.
Install the required Debian packages:
sudo apt update
sudo apt-get install -y ros-humble-nova-carter-bringup
source /opt/ros/humble/setup.bash
3. Declare
ROS_DOMAIN_IDwith the same unique ID (number between 0 and 101) on every bash instance inside the Docker container:export ROS_DOMAIN_ID=<unique ID>
Run the file:
ros2 launch nova_carter_bringup lidar_mapping.launch.py1. Make sure you followed the Prerequisites and you are inside the Isaac ROS Docker container.
Use
rosdepto install the package’s dependencies:sudo apt update rosdep update rosdep install -i -r --from-paths ${ISAAC_ROS_WS}/src/nova_carter/nova_carter_bringup/ \ --rosdistro humble -y
Build the ROS package in the Docker container:
colcon build --symlink-install --packages-up-to nova_carter_bringup  --packages-skip isaac_ros_ess_models_install isaac_ros_peoplesemseg_models_install
source install/setup.bash
4. Declare
ROS_DOMAIN_IDwith the same unique ID (number between 0 and 101) on every bash instance inside the Docker container:export ROS_DOMAIN_ID=<unique ID>
Run the file:
ros2 launch nova_carter_bringup lidar_mapping.launch.py
Make sure you complete Visualization Setup. Open Foxglove Studio on your remote machine, open the
nova_carter_navigation.jsonlayout file downloaded in the previous step.You should already see a visualization of the part of the map that is in close proximity to the robot.
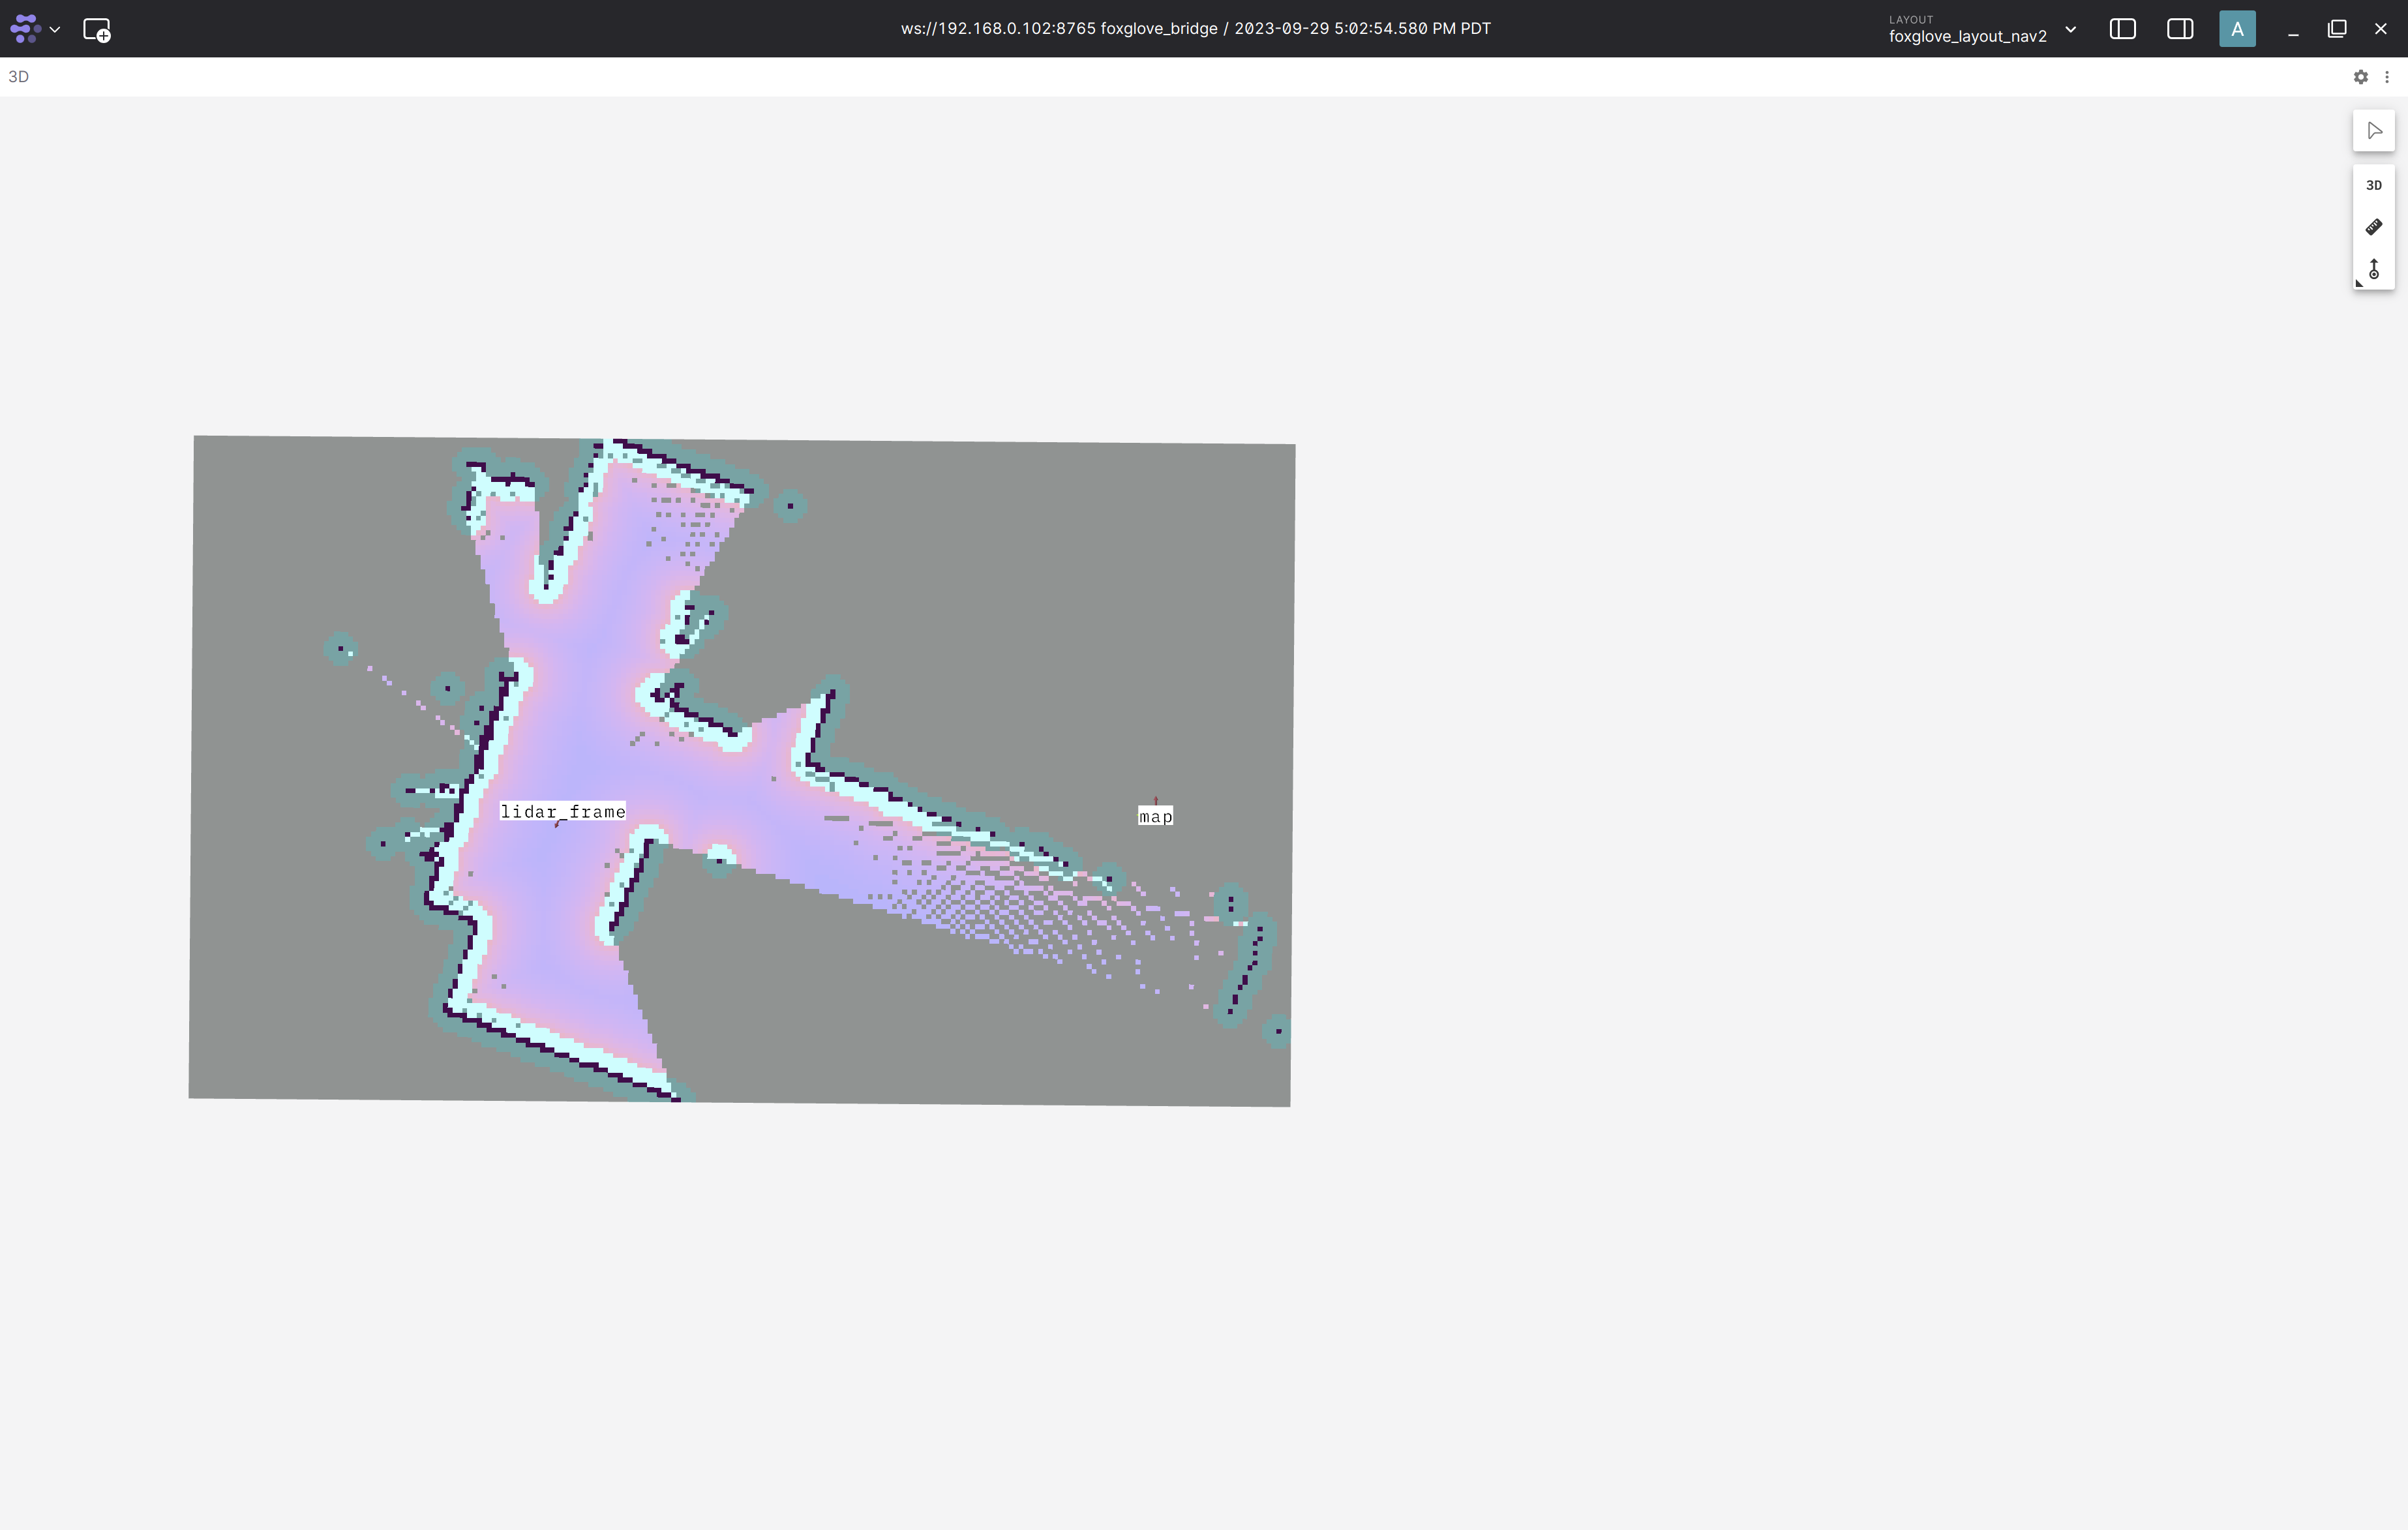
To map your entire environment move the robot around using the joystick. You should be able to see the map visualization in Foxglove expand in real-time as you are moving the robot around.
To store the map open a new terminal, SSH into the robot, and attach to the docker container that’s running the lidar mapping application. This depends on what approach you chose above to build/install the app.
Get the name of the docker container by running
docker ps
Then attach to the docker container with the following command. Make
sure to replace <name-of-docker-container> with the name found
above.
docker exec -it <name-of-docker-container> /bin/bash
Isaac ROS development docker container using the run_dev.sh script:
cd $ISAAC_ROS_WS/src/isaac_ros_common && \
  ./scripts/run_dev.sh
Isaac ROS development docker container using the run_dev.sh script:
cd $ISAAC_ROS_WS/src/isaac_ros_common && \
  ./scripts/run_dev.sh
Next run the below command to save the map
.pngand.yamlfile:This
.yamlfile can be used as the input map in the navigation tutorial.
source /opt/ros/humble/setup.bash
cd /workspaces/isaac_ros-dev
ros2 run nav2_map_server map_saver_cli --fmt png -f <path/to/my/map>
Note
Please make sure to replace <path/to/my/map> with the path where the map
should be stored. To keep the map when the docker container is
stopped, it is recommended to use a path that is mounted to the docker
container, for example /tmp/my_map.png. If you are running this example
with the pre-built docker image, then no suitable path is mounted. In this
case you can use docker cp <name-of-docker-container>:<path/to/my/map> .
to copy the map out of the container.