isaac_ros_h264_encoder#
Source code available on GitHub.
Quickstart#
Set Up Development Environment#
Set up your development environment by following the instructions in getting started.
(Optional) Install dependencies for any sensors you want to use by following the sensor-specific guides.
Note
We strongly recommend installing all sensor dependencies before starting any quickstarts. Some sensor dependencies require restarting the development environment during installation, which will interrupt the quickstart process.
Download Quickstart Assets#
Download quickstart data from NGC:
Make sure required libraries are installed.
sudo apt-get install -y curl jq tar
Then, run these commands to download the asset from NGC:
NGC_ORG="nvidia"
NGC_TEAM="isaac"
PACKAGE_NAME="isaac_ros_h264_encoder"
NGC_RESOURCE="isaac_ros_h264_encoder_assets"
NGC_FILENAME="quickstart.tar.gz"
MAJOR_VERSION=4
MINOR_VERSION=5
VERSION_REQ_URL="https://api.ngc.nvidia.com/v2/resources/$NGC_ORG/$NGC_TEAM/$NGC_RESOURCE/versions"
AVAILABLE_VERSIONS=$(curl -s \
    -H "Accept: application/json" "$VERSION_REQ_URL")
LATEST_VERSION_ID=$(echo $AVAILABLE_VERSIONS | jq -r "
    .recipeVersions[]
    | .versionId as \$v
    | \$v | select(test(\"^\\\\d+\\\\.\\\\d+\\\\.\\\\d+$\"))
    | split(\".\") | {major: .[0]|tonumber, minor: .[1]|tonumber, patch: .[2]|tonumber}
    | select(.major == $MAJOR_VERSION and .minor <= $MINOR_VERSION)
    | \$v
    " | sort -V | tail -n 1
)
if [ -z "$LATEST_VERSION_ID" ]; then
    echo "No corresponding version found for Isaac ROS $MAJOR_VERSION.$MINOR_VERSION"
    echo "Found versions:"
    echo $AVAILABLE_VERSIONS | jq -r '.recipeVersions[].versionId'
else
    mkdir -p ${ISAAC_ROS_WS}/isaac_ros_assets && \
    FILE_REQ_URL="https://api.ngc.nvidia.com/v2/resources/$NGC_ORG/$NGC_TEAM/$NGC_RESOURCE/\
versions/$LATEST_VERSION_ID/files/$NGC_FILENAME" && \
    curl -LO --request GET "${FILE_REQ_URL}" && \
    tar -xf ${NGC_FILENAME} -C ${ISAAC_ROS_WS}/isaac_ros_assets && \
    rm ${NGC_FILENAME}
fi
Build isaac_ros_h264_encoder#
Activate the Isaac ROS environment:
isaac-ros activateInstall the prebuilt Debian package:
sudo apt-get update
sudo apt-get install -y ros-jazzy-isaac-ros-h264-encoder
Install Git LFS:
sudo apt-get install -y git-lfs && git lfs install
Clone this repository under
${ISAAC_ROS_WS}/src:cd ${ISAAC_ROS_WS}/src && \ git clone -b release-4.5 https://github.com/NVIDIA-ISAAC-ROS/isaac_ros_compression.git isaac_ros_compression
Activate the Isaac ROS environment:
isaac-ros activateUse
rosdepto install the package’s dependencies:rosdep update && rosdep install --from-paths ${ISAAC_ROS_WS}/src/isaac_ros_compression/isaac_ros_h264_encoder --ignore-src -y
Build the package from source:
cd ${ISAAC_ROS_WS}/ && \
   colcon build --symlink-install --packages-up-to isaac_ros_h264_encoder --base-paths ${ISAAC_ROS_WS}/src/isaac_ros_compression/isaac_ros_h264_encoder
Source the ROS workspace:
Note
Make sure to repeat this step in every terminal created inside the Isaac ROS environment.
Because this package was built from source, the enclosing workspace must be sourced for ROS to be able to find the package’s contents.
source install/setup.bash
Run Launch File#
Ensure that you have already set up your RealSense camera using the RealSense setup tutorial. If you have not, set up the sensor and then restart this quickstart from the beginning.
Continuing inside the container, install the following dependencies:
sudo apt-get update
sudo apt-get install -y ros-jazzy-isaac-ros-examples ros-jazzy-isaac-ros-realsense
Run the launch file. This launch file launches the example with the RealSense camera:
ros2 launch isaac_ros_examples isaac_ros_examples.launch.py launch_fragments:=realsense_stereo_rect,stereo_h264_encoder
Ensure that you have already set up your ZED camera using ZED setup tutorial.
Continuing inside the Isaac ROS environment, install dependencies:
sudo apt-get update
sudo apt-get install -y ros-jazzy-isaac-ros-examples ros-jazzy-isaac-ros-stereo-image-proc ros-jazzy-isaac-ros-zed
Run the following launch file to spin up a demo of this package using a ZED Camera:
ros2 launch isaac_ros_examples isaac_ros_examples.launch.py \
launch_fragments:=zed_stereo_rect,stereo_h264_encoder \
interface_specs_file:=${ISAAC_ROS_WS}/isaac_ros_assets/isaac_ros_h264_encoder/zed2_quickstart_interface_specs.json
Note
If you are using the ZED X series, replace zed2_quickstart_interface_specs.json with zedx_quickstart_interface_specs.json in the above command.
Visualize Results#
Note
Visualization is optional. To visualize the encoded output, you need to complete the Isaac ROS H264 decoder.
Open a new terminal and activate the Isaac ROS environment:
isaac-ros activateDecode the images by running the following command:
ros2 launch isaac_ros_examples isaac_ros_examples.launch.py launch_fragments:=stereo_h264_decoder
Open another terminal, activate the Isaac ROS environment, and install
rqt_image_view:isaac-ros activatesudo apt-get install -y ros-jazzy-rqt-image-view
To visualize the left image, run:
ros2 run rqt_image_view rqt_image_view /left/image_uncompressed
To visualize the right image, press
Ctrl+Cto stop, then run:ros2 run rqt_image_view rqt_image_view /right/image_uncompressed
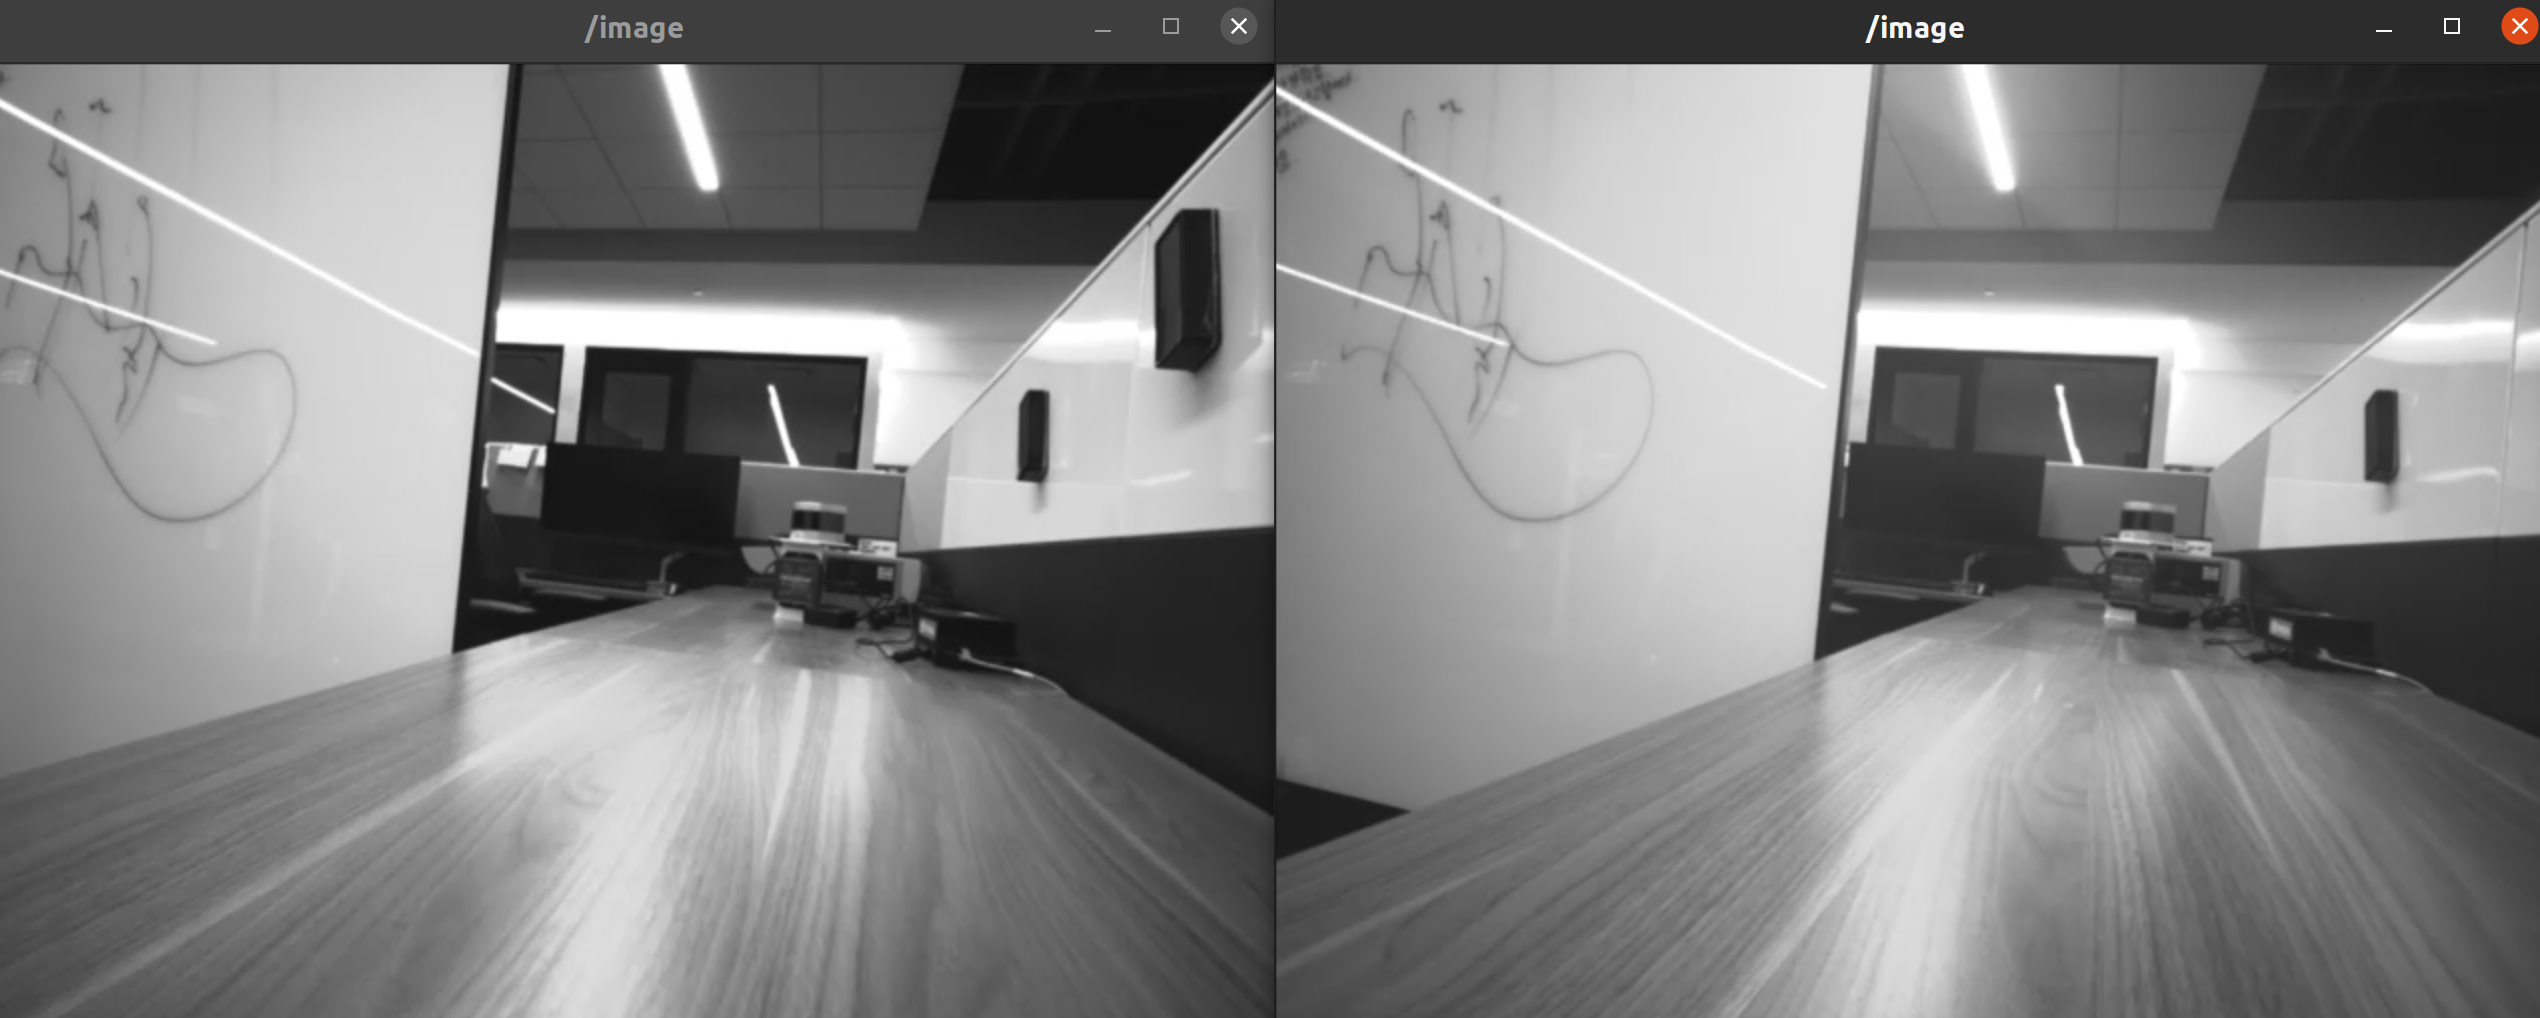
For example, the result looks like:
To visualize the left image, run:
ros2 run rqt_image_view rqt_image_view /left/image_uncompressed
To visualize the right image, press
Ctrl+Cto stop, then run:ros2 run rqt_image_view rqt_image_view /right/image_uncompressed
API#
ROS Parameters#
ROS Parameter |
Type |
Default |
Description |
|---|---|---|---|
|
|
|
The width of the input image. |
|
|
|
The height of the input image. |
|
|
|
The encoder constant QP value. |
|
|
|
The encoder hardware preset type. The value can be an integer from |
|
|
|
The profile to be used for encoding. The value can be an integer from |
|
|
|
Interval between two I frames, in number of frames. E.g., |
|
|
|
A preset combination of |
ROS Topics Subscribed#
ROS Topic |
Interface |
Description |
|---|---|---|
|
Raw input image. |
Warning
All input images are required to have height and width that are both an even number of pixels.
ROS Topics Published#
ROS Topic |
Interface |
Description |
|---|---|---|
|
The H.264 compressed image |
Input Restrictions#
The input image resolution must be the same as the dimension you provided, and the resolution must be no larger than ``1920x1200``.
The input image should be in
rgb8orbgr8format, and it will be converted tonv12format before being sent to the encoder.
Output Interpretations#
The encoder could perform All-I frame or P-frame encoding and output the H.264 compressed data. The input and output are one-to-one mapped.