Human Reconstruction with RealSense
This tutorial demonstrates how to perform dynamic human reconstruction in nvblox using RealSense data. For more information on how human reconstruction works, see Technical Details.
Setup Isaac ROS Image Segmentation
Note
If you are on a desktop machine, we recommend using the
PeopleSemSegNet over the PeopleSemSegNet ShuffleSeg
model that is provided in Isaac ROS Image Segmentation
for better segmentation performance. If you are on a Jetson,
using the PeopleSemSegNet ShuffleSeg model is recommended for
overall inference speed and prediction accuracy trade-off.
The following steps show you how to run PeopleSemSegNet in ROS.
See
this document
to run the PeopleSemSegNet ShuffleSeg network.
Complete all steps of the Static Reconstruction with RealSense and make sure it is working.
Clone the segmentation repository under
${ISAAC_ROS_WS}/src.cd ${ISAAC_ROS_WS}/src
git clone https://github.com/NVIDIA-ISAAC-ROS/isaac_ros_image_segmentation.git
Pull down a rosbag of sample data:
cd ${ISAAC_ROS_WS}/src/isaac_ros_image_segmentation && \
    git lfs pull -X "" -I "resources/rosbags/"
Launch the Docker container using the
run_dev.shscript:cd ${ISAAC_ROS_WS}/src/isaac_ros_common && \ ./scripts/run_dev.sh
Inside the container, install
isaac_ros_image_segmentation
sudo apt-get install -y ros-humble-isaac-ros-image-segmentation
Download the
PeopleSemSegNetETLT file and theint8inference mode cache file:mkdir -p /workspaces/isaac_ros-dev/models/peoplesemsegnet/1 cd /workspaces/isaac_ros-dev/models/peoplesemsegnet wget 'https://api.ngc.nvidia.com/v2/models/nvidia/tao/peoplesemsegnet/versions/deployable_quantized_vanilla_unet_v2.0/files/peoplesemsegnet_vanilla_unet_dynamic_etlt_int8.cache' wget 'https://api.ngc.nvidia.com/v2/models/nvidia/tao/peoplesemsegnet/versions/deployable_quantized_vanilla_unet_v2.0/files/peoplesemsegnet_vanilla_unet_dynamic_etlt_int8_fp16.etlt'
Convert the ETLT file to a TensorRT plan file:
/opt/nvidia/tao/tao-converter -k tlt_encode -d 3,544,960 -p input_1:0,1x3x544x960,1x3x544x960,1x3x544x960 -t int8 -c peoplesemsegnet_vanilla_unet_dynamic_etlt_int8.cache -e /workspaces/isaac_ros-dev/models/peoplesemsegnet/1/model.plan -o argmax_1 peoplesemsegnet_vanilla_unet_dynamic_etlt_int8_fp16.etlt
Create the Triton configuration file called
/workspaces/isaac_ros-dev/models/peoplesemsegnet/config.pbtxtwith the following content:name: "peoplesemsegnet" platform: "tensorrt_plan" max_batch_size: 0 input [ { name: "input_1:0" data_type: TYPE_FP32 dims: [ 1, 3, 544, 960 ] } ] output [ { name: "argmax_1" data_type: TYPE_INT32 dims: [ 1, 544, 960, 1 ] } ] version_policy: { specific { versions: [ 1 ] } }
Inside the container, build and source the workspace:
cd /workspaces/isaac_ros-dev && \ colcon build --symlink-install && \ source install/setup.bash
(Optional) Run tests to verify complete and correct installation:
colcon test --executor sequential
Run the following launch file to get the ROS node running:
ros2 launch isaac_ros_unet isaac_ros_unet_triton.launch.py model_name:=peoplesemsegnet model_repository_paths:=['/workspaces/isaac_ros-dev/models'] input_binding_names:=['input_1:0'] output_binding_names:=['argmax_1'] network_output_type:='argmax'
Open two other terminals, and enter the Docker container in both:
cd ${ISAAC_ROS_WS}/src/isaac_ros_common && \
  ./scripts/run_dev.sh
Play the rosbag in one of the terminals:
ros2 bag play -l src/isaac_ros_image_segmentation/resources/rosbags/unet_sample_data/
And visualize the output in the other terminal:
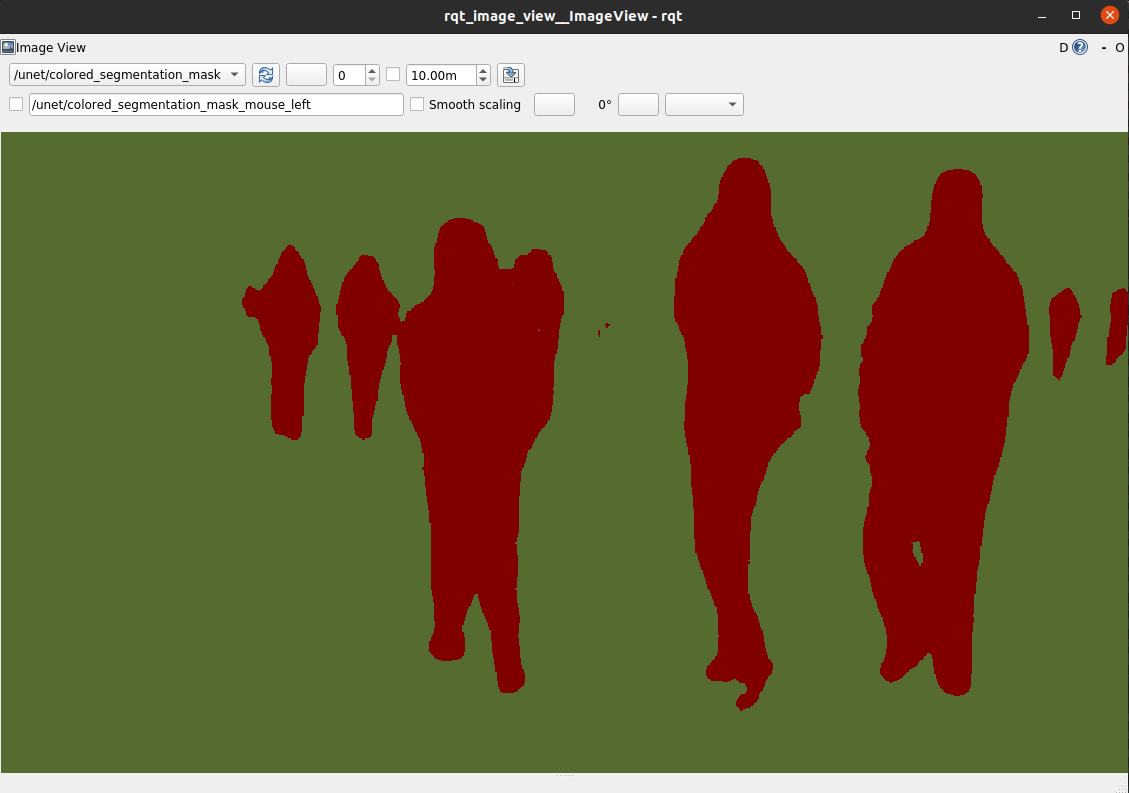
ros2 run rqt_image_view rqt_image_view
Verify that the output looks similar to this image:
Example with RealSense Live Data
Complete the Setup Isaac ROS Image Segmentation section above.
Connect the RealSense device to your machine using a USB 3 cable/port.
Run the ROS Docker container using the
run_dev.shscript:cd ${ISAAC_ROS_WS}/src/isaac_ros_common && \ ./scripts/run_dev.sh
Source the workspace:
source /workspaces/isaac_ros-dev/install/setup.bash
Verify that the RealSense camera is connected by running
realsense-viewer:realsense-viewer
If successful, run the launch file to spin up the example:
ros2 launch nvblox_examples_bringup realsense_humans_example.launch.py
Note
If you want to restrict odometry to a 2D plane
(for example, to run a robot in a flat environment),
you can use the flatten_odometry_to_2d argument.
Example with RealSense Recorded Data
If you want to run the example on recorded data see RealSense Data Recording for Nvblox.
Troubleshooting
See RealSense Issues.