Tutorial to Run NITROS-Accelerated Graph with Argus Camera
graph LR;
argus_node("ArgusStereoNode (Raw Image)") --> left_encoder_node("EncoderNode (Compressed Image)");
argus_node --> right_encoder_node("EncoderNode (Compressed Image)");
In this tutorial, you perform H.264 encoding using an Argus-compatible camera and an isaac_ros_h264_encoder. Then you save the compressed images into a rosbag.
Follow the quickstart here up to step 6.
Inside the container, install the
isaac_ros_argus_camerapackage.sudo apt-get install -y ros-humble-isaac-ros-argus-camera
Run the launch file. This launch file launches the example and records
CompressedImageandCameraInfotopic data into a rosbag in your current folder.ros2 launch isaac_ros_h264_encoder isaac_ros_h264_encoder_argus.launch.py
(Optional) If you want to decode and visualize the images from the rosbag, you can place the recorded rosbag into an x86 machine equipped with NVIDIA GPU, then follow steps 7 and 8 in the Quickstart section. (Change the rosbag path and input dimension accordingly in step 7):
ros2 launch isaac_ros_h264_decoder isaac_ros_h264_decoder_rosbag.launch.py rosbag_path:=<"path to your rosbag folder">
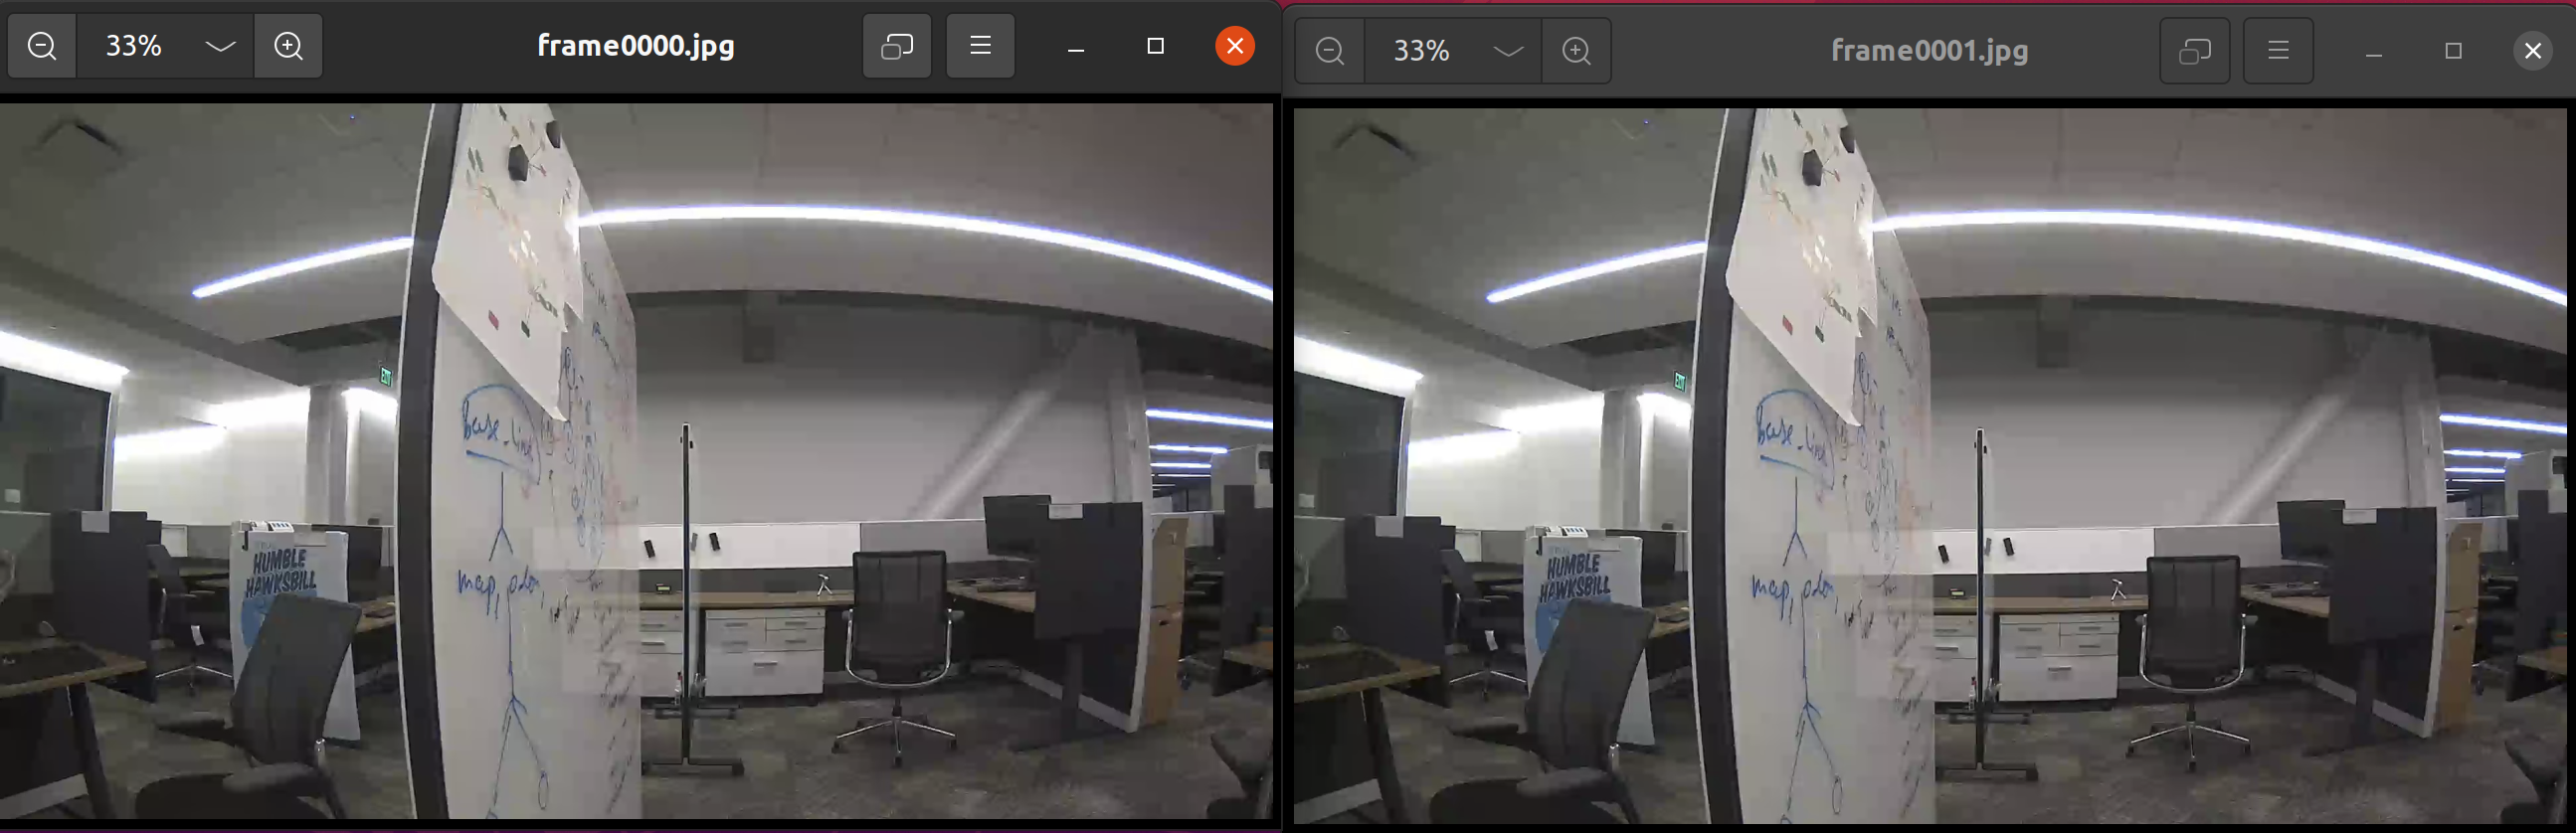
For example, the result looks like: