Tutorial for Freespace Segmentation using a RealSense Camera
Overview
This tutorial demonstrates how to use a RealSense camera and isaac_ros_bi3d_freespace to create a local occupancy grid.
Note
This tutorial requires a compatible RealSense camera from the list of available cameras.
Tutorial Walkthrough
Complete the RealSense setup tutorial.
Complete steps 1-7 described in the Quickstart Guide.
Open a new terminal and launch the Docker container using the
run_dev.shscript:cd ${ISAAC_ROS_WS}/src/isaac_ros_common && \ ./scripts/run_dev.sh
Build and source the workspace:
cd /workspaces/isaac_ros-dev && \ colcon build --symlink-install && \ source install/setup.bash
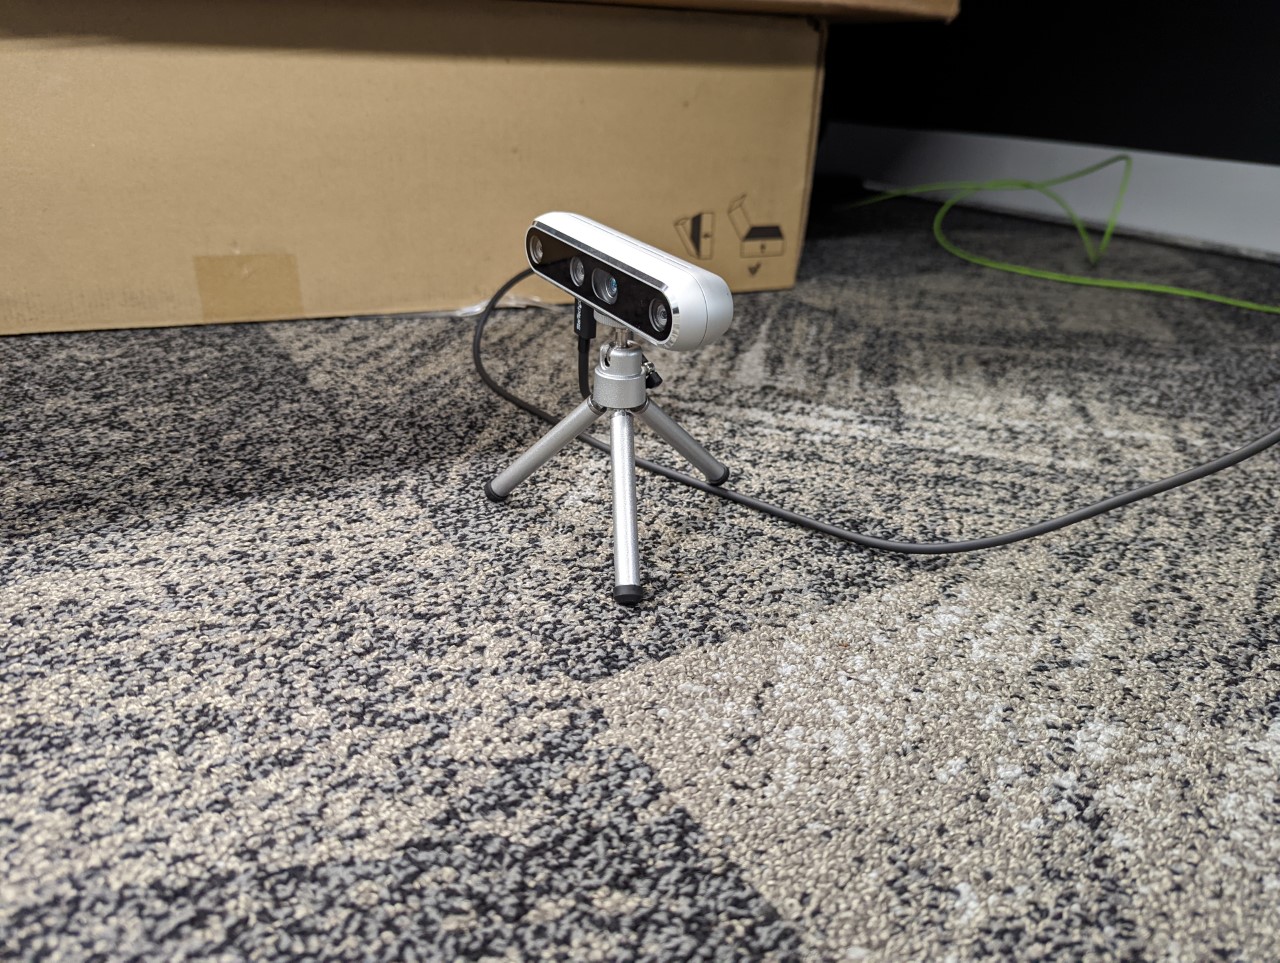
Set your camera as shown in the image below, which is on a tripod ~10cm tall and parallel to the ground. Or you can change the static transform in the launch file here, according to the placement of your camera with respect to an occupancy grid origin frame.
Run the launch file, to launch the example:
ros2 launch isaac_ros_bi3d_freespace isaac_ros_bi3d_freespace_realsense.launch.py featnet_engine_file_path:=/tmp/models/bi3d/bi3dnet_featnet.plan \ segnet_engine_file_path:=/tmp/models/bi3d/bi3dnet_segnet.plan \ max_disparity_values:=16
Open a second terminal and attach to the container:
cd ${ISAAC_ROS_WS}/src/isaac_ros_common && \
  ./scripts/run_dev.sh
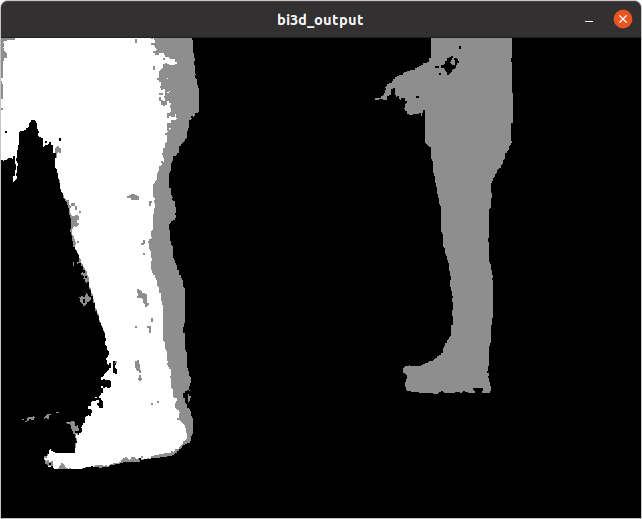
Optionally, you can run the visualizer script to visualize the disparity image:
ros2 run isaac_ros_bi3d isaac_ros_bi3d_visualizer.py --disparity_topic bi3d_mask
Note
For more information on how to interpret the output, refer to the interpreting the output section.
Open a third terminal and attach to the container:
cd ${ISAAC_ROS_WS}/src/isaac_ros_common && \
./scripts/run_dev.sh
Visualize the occupancy grid in RViz:
Start RViz:
rviz2
In the left pane, change the Fixed Frame to
base_link.In the left pane, click Add, select By topic followed by Map to add the occupancy grid. You should see an output similar to the one shown at the top of this page.