Attention
As of June 30, 2025, the Isaac ROS Buildfarm for Isaac ROS 2.1 on Ubuntu 20.04 Focal is no longer supported.
Due to an isolated infrastructure event, all ROS 2 Humble Debian packages that were previously built for Ubuntu 20.04 are no longer available in the Isaac Apt Repository. All artifacts for Isaac ROS 3.0 and later are built and maintained with a more robust pipeline.
Users are encouraged to migrate to the latest version of Isaac ROS. The source code for Isaac ROS 2.1
continues to be available on the release-2.1 branches of the Isaac ROS
GitHub repositories.
The original documentation for Isaac ROS 2.1 is preserved below.
Tutorial for Freespace Segmentation with Isaac Sim
Overview
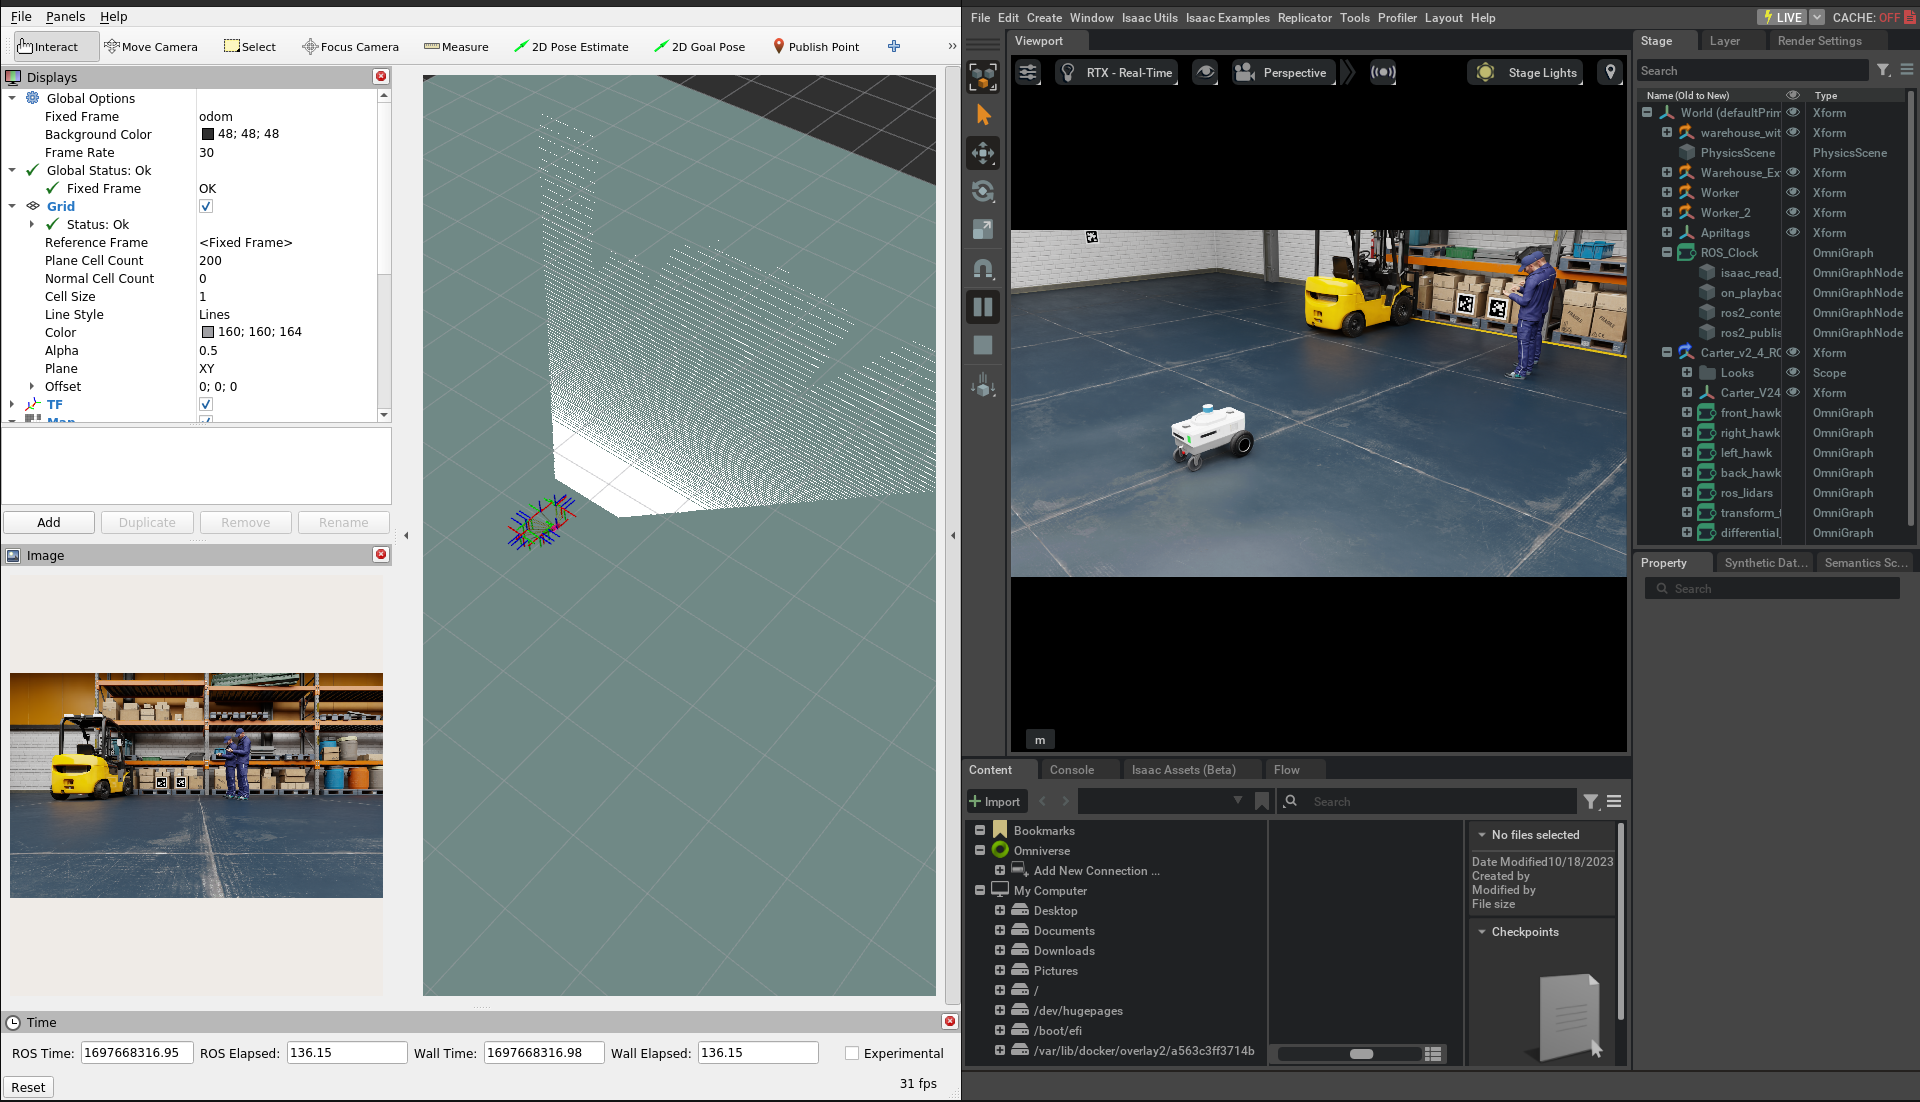
This tutorial demonstrates how to use a Isaac Sim and isaac_ros_bi3d_freespace to create a local occupancy grid.
Tutorial Walkthrough
Complete steps 1-7 listed in the quickstart here.
Install and launch Isaac Sim following the steps in the Isaac ROS Isaac Sim Setup Guide
Disable the clock reset when simulation is stopped. Go to the Stage tab and select
/World/ROS_Clock/isaac_read_simulation_time, then untick the Reset On Stop checkbox.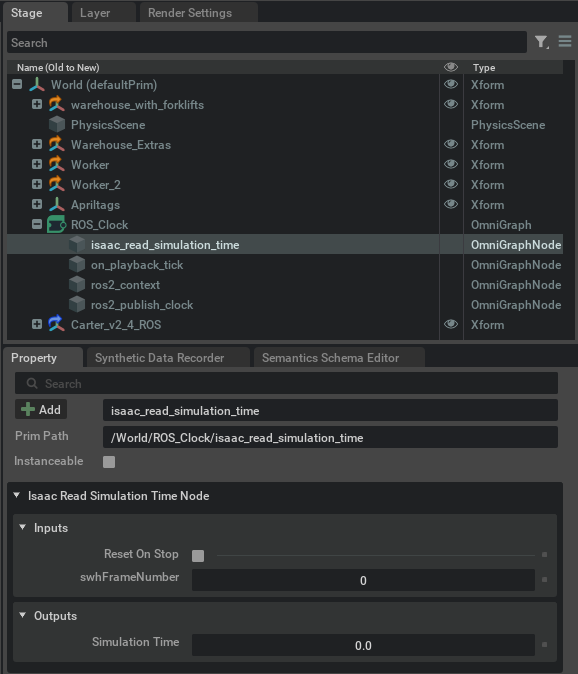
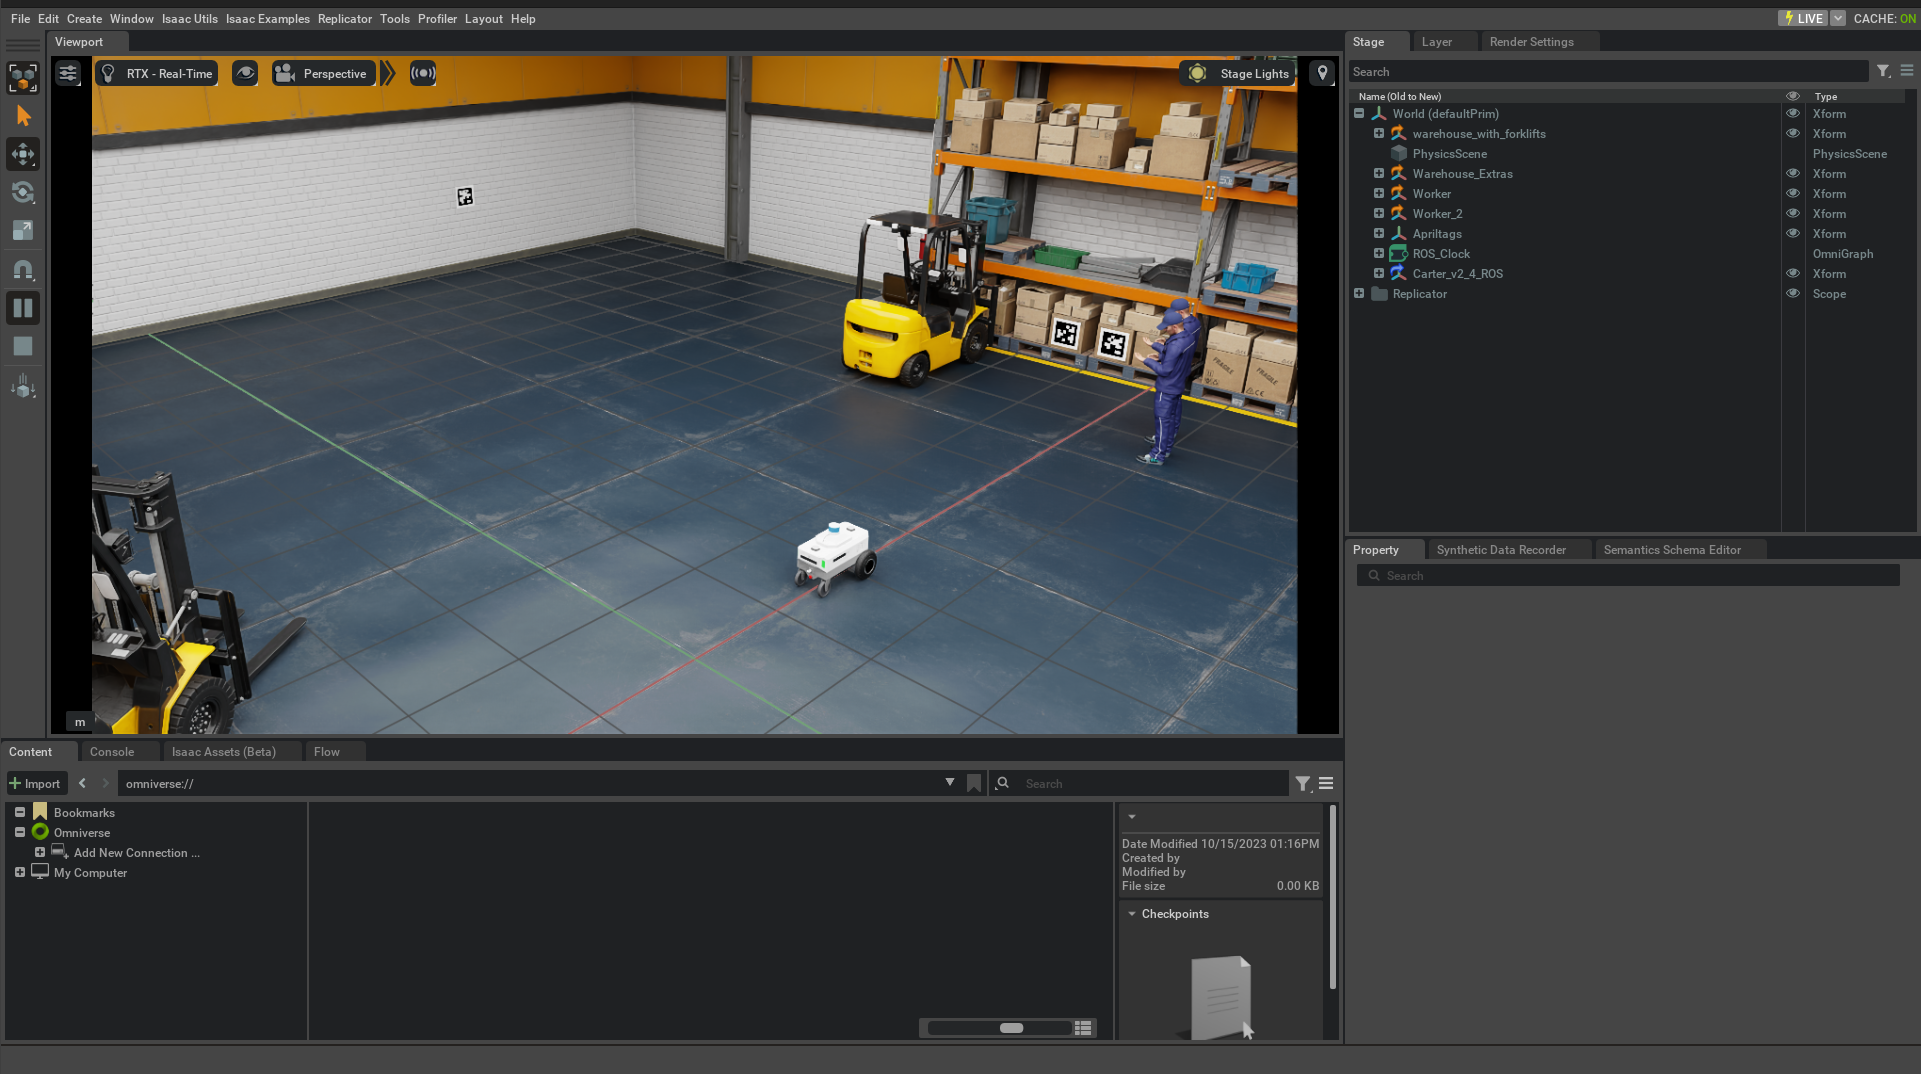
Press Play to start publishing data from Isaac Sim.
Open a second terminal and attach to the container:
cd ${ISAAC_ROS_WS}/src/isaac_ros_common && \
./scripts/run_dev.sh
In the second terminal, start the
isaac_ros_bi3dnode using the launch files:ros2 launch isaac_ros_bi3d_freespace isaac_ros_bi3d_freespace_isaac_sim.launch.py \ featnet_engine_file_path:=/tmp/models/bi3d/bi3dnet_featnet.plan \ segnet_engine_file_path:=/tmp/models/bi3d/bi3dnet_segnet.plan \ max_disparity_values:=32
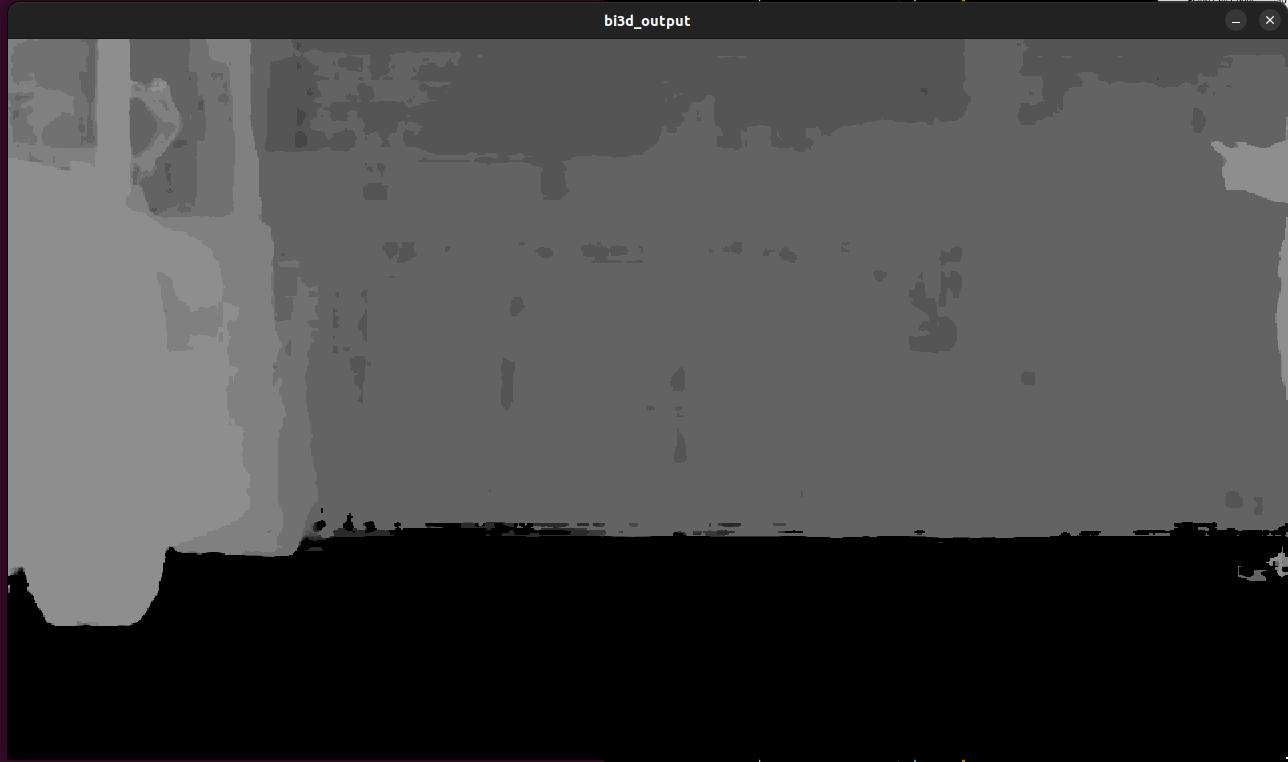
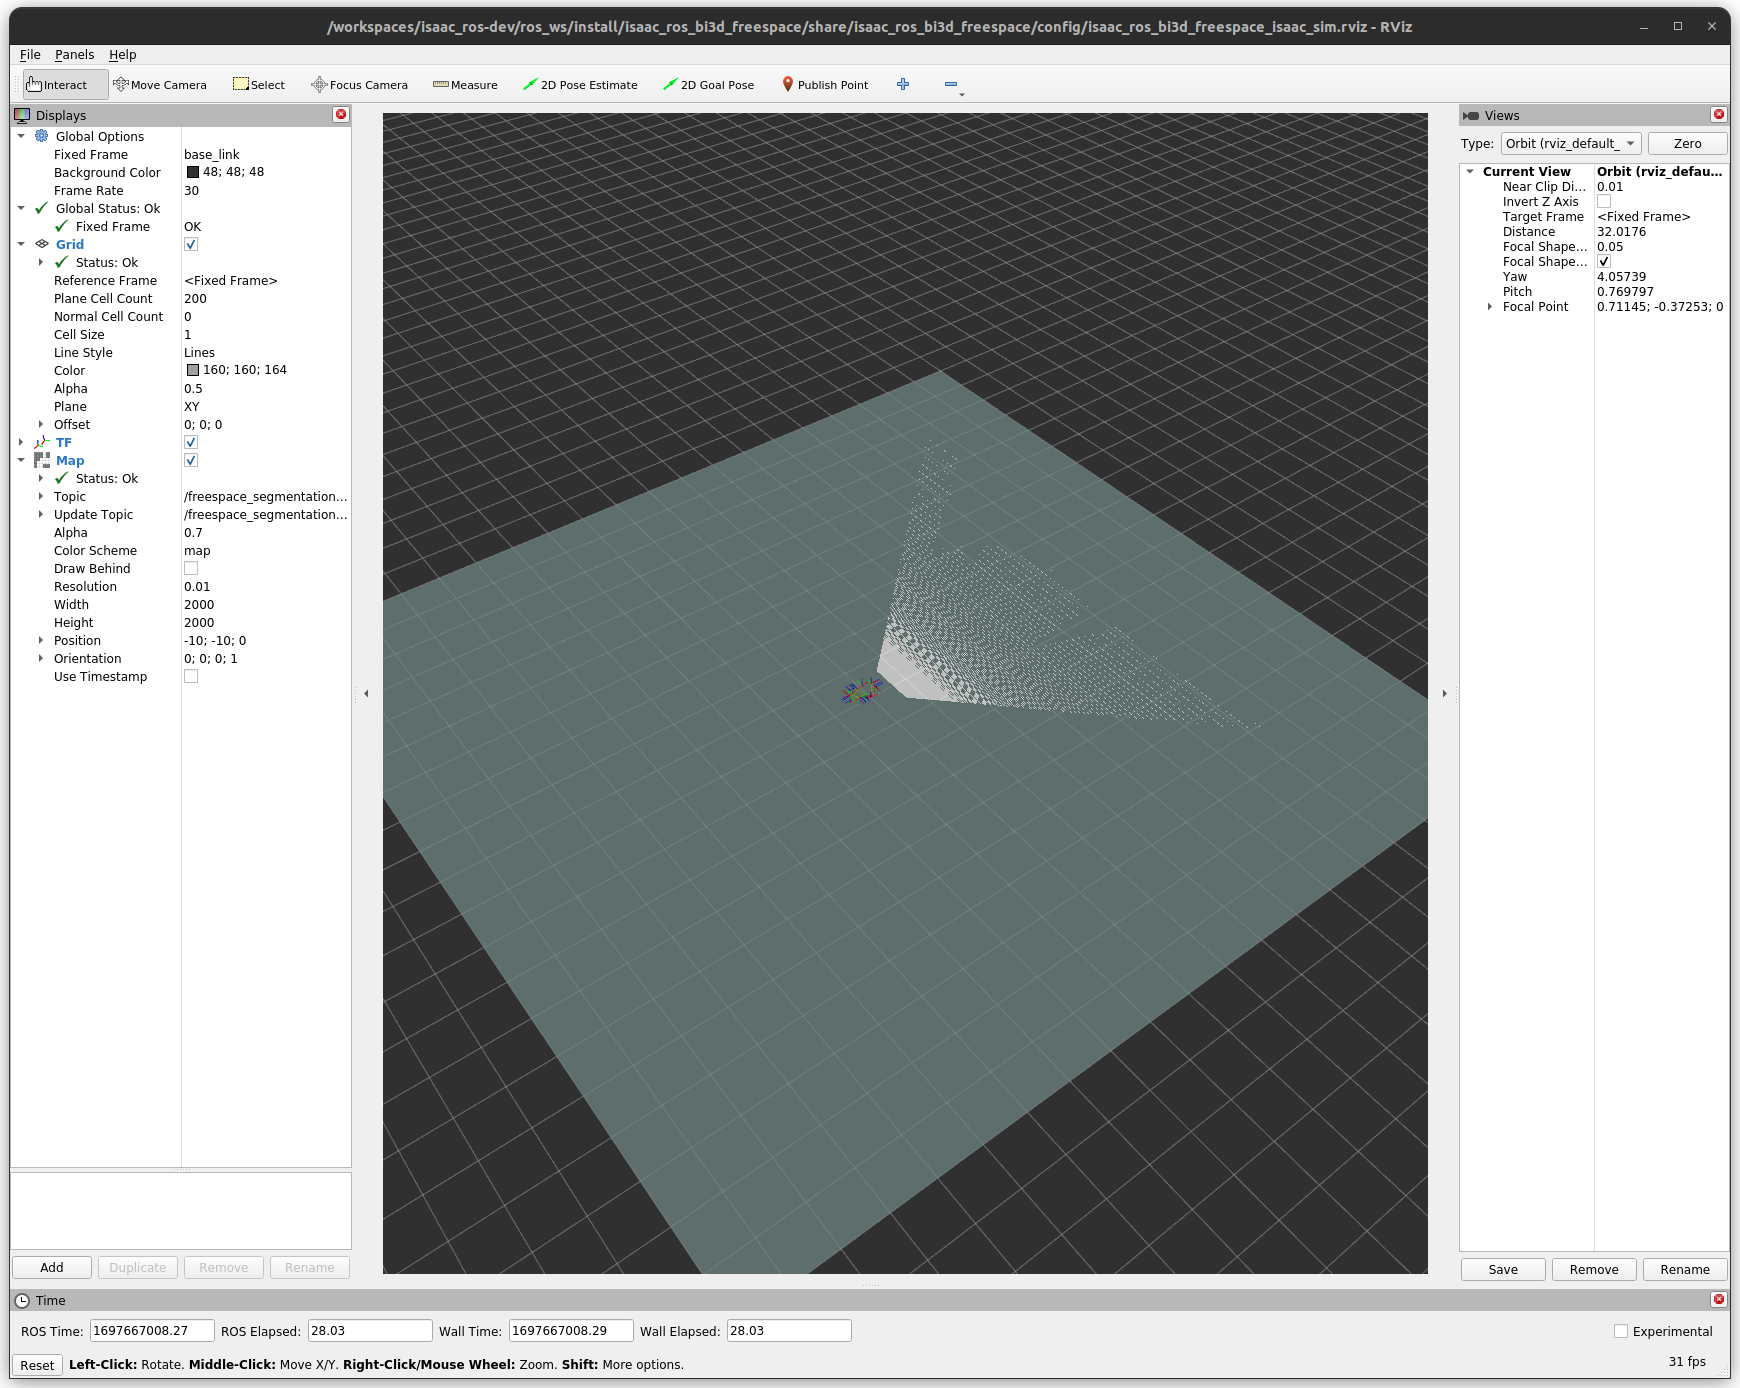
You should see a RViz window, as shown below:
Optionally, you can run the visualizer script to visualize the disparity image:
ros2 run isaac_ros_bi3d isaac_ros_bi3d_visualizer.py --disparity_topic bi3d_mask